
Honeywell Home T3R Thermostat Manual: A Comprehensive Guide
This manual details the Honeywell T3R programmable thermostat, including installation, operation, troubleshooting, and specifications. It covers T3, T3M, and T3R models, offering a complete resource for users seeking guidance.
The Honeywell Home T3R Programmable Thermostat represents a significant advancement in home climate control. This guide provides comprehensive instructions for installation, setup, and operation, catering to both standard and wireless configurations. The T3R, alongside its counterparts – the T3 and T3M – offers programmable functionality, allowing users to optimize energy consumption and comfort.
Specifically, the T3R distinguishes itself with integrated wireless capabilities. This manual details the unique features of the T3R, including boiler maintenance reminders (R.U. feature) and OpenTherm compatibility. It’s designed to empower users with a thorough understanding of their thermostat, ensuring efficient and reliable performance within their home heating systems.
Understanding the T3R Model Variations (T3, T3M, T3R)
Honeywell offers a family of T3 thermostats, each designed to meet specific needs. The base T3 is a programmable thermostat providing basic scheduling capabilities. Stepping up, the T3M introduces modulating programming for enhanced efficiency with compatible boilers. The T3R builds upon these features by adding wireless connectivity, enabling remote control and integration with other smart home devices.
Key distinctions lie in functionality; the T3R uniquely supports wireless communication and boiler maintenance reminders. While all models share a similar user interface, the T3R’s advanced features necessitate a dedicated section within this manual for complete understanding and optimal utilization.
Key Features of the Honeywell T3R Thermostat
The Honeywell T3R boasts a range of features designed for comfort and energy savings. Programmable scheduling allows customized temperature settings throughout the day, adapting to your lifestyle. Wireless capabilities enable remote control via a compatible app, offering convenience and flexibility; A prominent feature is the Boiler Maintenance Reminder (R.U. feature), prompting timely servicing for optimal boiler performance.
Furthermore, the T3R supports OpenTherm technology for advanced boiler control. Its intuitive interface and clear display simplify operation, while detailed product specifications ensure compatibility and efficient performance within your home heating system.
Wireless Capabilities of the T3R
The Honeywell T3R distinguishes itself with integrated wireless functionality, a feature exclusive to this model (T3R). This allows seamless connection to compatible Honeywell Home systems, enabling remote control and monitoring via a smartphone or tablet. Users can adjust temperature settings, view energy usage, and receive alerts from anywhere with an internet connection.
This wireless connectivity enhances convenience and provides greater control over your home’s heating system. The system utilizes a secure wireless protocol, ensuring reliable communication and protecting your privacy. Detailed setup instructions are provided within the manual to facilitate a smooth connection process.

Installation and Setup
Proper installation is crucial for optimal performance. This section provides detailed wiring diagrams, mounting instructions, and guidance for connecting the T3R to wireless systems.
Initial Setup and Wiring (T3R Specific)
Before beginning, ensure power is OFF at the breaker; The T3R’s wiring differs slightly from standard thermostats. Carefully identify existing wires – typically labeled C, Rh, Rc, W, Y, and G. Consult the wiring diagram included with your T3R, as configurations vary based on your heating/cooling system.
Connect wires to the corresponding terminals on the thermostat baseplate. Securely mount the baseplate to the wall. For wireless models, ensure the receiver is properly paired. Double-check all connections before restoring power. Incorrect wiring can damage the system or thermostat. Refer to the quick start guide for visual aids.
Connecting to Wireless Systems
The Honeywell T3R boasts wireless capabilities, enabling remote control and monitoring. Pairing involves activating pairing mode on both the thermostat and the receiver unit. Ensure both devices are within range – typically a few meters – during the initial connection process.
Follow the on-screen prompts on the T3R to locate and connect to the receiver. A successful connection is indicated by a confirmation message. Wireless functionality allows integration with Honeywell Home apps for smartphone control. Troubleshooting connectivity issues may require re-pairing or checking battery levels in the receiver unit.
Mounting the Thermostat
Securely mounting the Honeywell T3R is crucial for optimal performance. Begin by turning off power to your heating/cooling system at the breaker. Remove your old thermostat, carefully labeling the wires. Use the provided mounting plate as a template to mark screw locations on the wall.
Drill pilot holes and attach the mounting plate. Connect the wires to the appropriate terminals, referencing the wiring diagram. Gently push the T3R thermostat onto the mounting plate until it clicks into place. Restore power and verify proper operation. Ensure the thermostat is level for accurate readings.
Operating the T3R Thermostat
The T3R features an intuitive interface for temperature control and scheduling. Users can navigate menus, adjust settings, and program personalized comfort profiles easily.
Screen and Button Overview
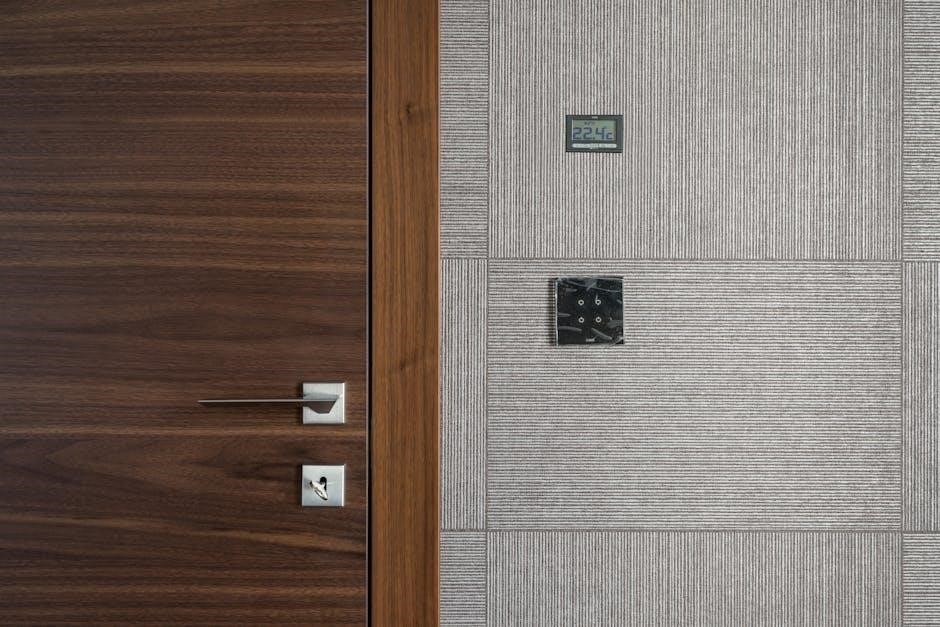
The Honeywell T3R thermostat boasts a clear, user-friendly screen displaying current temperature, setpoint, and operating mode. Key buttons facilitate navigation and control. Typically, a central dial or buttons allow temperature adjustment, while dedicated ‘Menu’ and ‘OK’ buttons access settings.
The screen also indicates wireless signal strength (for T3R models) and active features like scheduling or geofencing. Understanding these visual cues is crucial for efficient operation. The Quick Start Installation Guide highlights these elements, ensuring users quickly familiarize themselves with the thermostat’s interface and button functions for seamless control.
Navigating the Menu System
Accessing the Honeywell T3R’s menu is typically done via the ‘Menu’ button, initiating a series of options. Users can then utilize the directional buttons or dial to scroll through settings like scheduling, system mode (heat, cool, auto), and advanced configurations.
The manual emphasizes using the ‘OK’ button to confirm selections. Familiarizing yourself with the menu structure is vital for customizing the thermostat. Online resources, like manuals.plus, offer detailed guidance on programming and feature access. Remember to consult the user guide for specific menu options and their functionalities.
Programming Temperature Schedules
The Honeywell T3R allows for customized temperature schedules to optimize comfort and energy savings. Users can set different temperatures for various times of the day and days of the week. Access the scheduling function through the main menu, typically using the directional buttons to navigate.
The manual details how to create, edit, and delete schedules. Online guides, such as those found on manuals.plus, provide step-by-step instructions. Properly programmed schedules ensure efficient heating and cooling, reducing energy consumption and costs.
Setting Up Geofencing (If Applicable)
Geofencing, a feature available on some T3R models, automatically adjusts the temperature based on your location. This requires a compatible smartphone and the Honeywell Home app. The manual explains how to define a virtual “fence” around your home.
When you enter or leave this zone, the thermostat adjusts to pre-set comfort or energy-saving temperatures. Ensure location services are enabled on your device for accurate geofencing functionality. Refer to the app’s instructions for detailed setup and troubleshooting, maximizing convenience and efficiency.
Advanced Features and Settings

Explore boiler maintenance reminders (R.U. feature) and OpenTherm compatibility within the T3R. This section details configuration options for optimized system performance.
Boiler Maintenance Reminders (R.U. Feature)
The Honeywell T3R thermostat incorporates a valuable Boiler Maintenance Reminder feature, designated as “R.U.” This prompts users to schedule essential boiler servicing, ensuring optimal efficiency and longevity. The system alerts you when maintenance is due, potentially preventing costly repairs and ensuring safe operation.
Contact the boiler owner or a qualified service authority to arrange the necessary maintenance; Ignoring these reminders could void warranties or compromise system performance. The R.U. feature is a proactive step towards responsible home heating management, contributing to both cost savings and peace of mind.
OpenTherm Compatibility and Configuration
The Honeywell T3R thermostat offers compatibility with OpenTherm heating systems, enabling advanced communication between the thermostat and boiler. This allows for more precise temperature control and improved energy efficiency; Configuration involves accessing the thermostat’s menu and selecting the appropriate OpenTherm settings.

Detailed product specification sheets provide comprehensive information regarding OpenTherm IDs and setup procedures. Proper configuration is crucial for optimal performance. Ensure your boiler supports OpenTherm before attempting setup. Refer to both the thermostat manual and your boiler’s documentation for specific instructions.
Understanding Error Codes and Troubleshooting
The Honeywell T3R thermostat displays error codes to indicate potential issues with the system. These codes help pinpoint the source of the problem, facilitating effective troubleshooting. Common issues include connectivity problems, incorrect temperature readings, and the thermostat failing to power on.
Consult the manual for a complete list of error codes and their corresponding solutions. Basic troubleshooting steps include checking wiring connections, replacing batteries, and verifying the system’s power supply. Detailed product specifications offer further assistance. If problems persist, contact Honeywell support for expert guidance.

Troubleshooting Common Issues
This section addresses frequent problems with the Honeywell T3R, including power failures, connectivity disruptions, and inaccurate temperature readings, offering practical solutions.
Thermostat Not Powering On
If your Honeywell T3R thermostat fails to power on, begin by verifying the power source. Ensure the thermostat is securely mounted and properly wired according to the installation guide. Check the circuit breaker or fuse box to confirm power is reaching the thermostat’s wiring.
If using batteries, replace them with fresh ones, ensuring correct polarity. A faulty transformer can also prevent power-up; test its output voltage. Inspect wiring connections for looseness or corrosion. If the issue persists after these checks, consult a qualified HVAC technician for further assistance, as internal component failure may be the cause.
Connectivity Problems
Experiencing connectivity issues with your Honeywell T3R? First, confirm your home Wi-Fi network is functioning correctly and the thermostat is within range. Restart both your router and the thermostat – a simple reboot often resolves temporary glitches.
Verify the correct Wi-Fi password was entered during setup. Check for interference from other wireless devices. If problems continue, try re-pairing the thermostat with the Honeywell Home app, following the app’s instructions carefully. Ensure the thermostat’s software is up-to-date. Contact Honeywell support if these steps don’t restore connectivity.
Incorrect Temperature Readings
If your Honeywell T3R displays inaccurate temperatures, first ensure the thermostat isn’t exposed to direct sunlight, drafts, or heat sources like lamps. These can significantly skew readings. Verify the thermostat is level on the wall; improper mounting can affect accuracy.
Calibrate the temperature within the thermostat’s settings menu – a slight adjustment may be needed. Compare the T3R’s reading with a trusted thermometer placed nearby. If discrepancies persist, consider a reset to factory defaults and re-setup. Contact Honeywell support for further assistance if calibration fails.

Maintenance and Care
Regular cleaning with a soft cloth ensures optimal performance. Replace batteries as needed to avoid malfunctions and maintain accurate temperature control for your T3R.
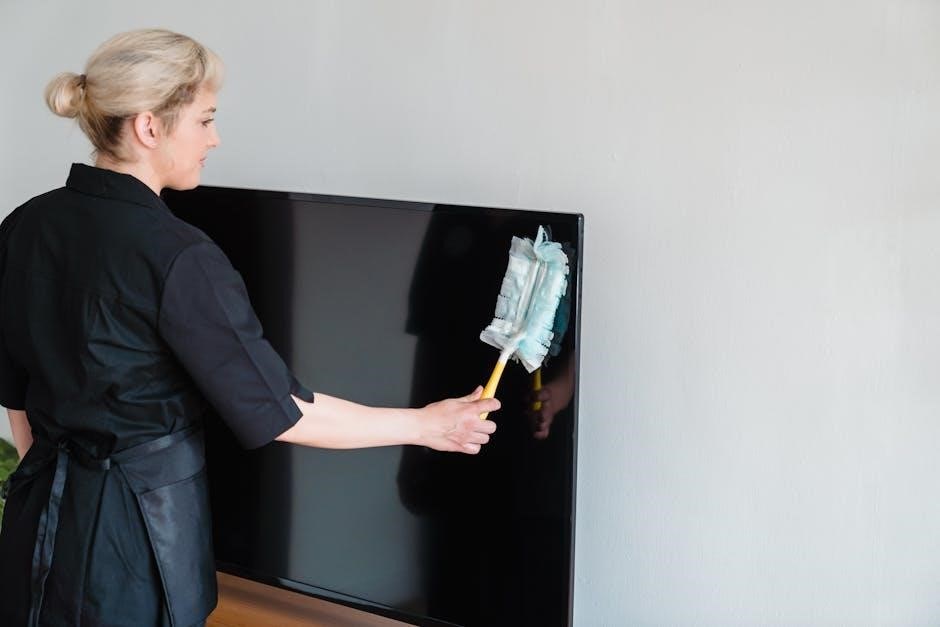
Cleaning the Thermostat
To maintain the appearance and functionality of your Honeywell Home T3R thermostat, regular cleaning is recommended. Always begin by completely powering off the thermostat before any cleaning procedures. Use a soft, dry cloth to gently wipe the exterior surfaces. Avoid abrasive cleaners, solvents, or excessive moisture, as these can damage the display or internal components.
For stubborn marks, lightly dampen the cloth with water, ensuring it’s wrung out thoroughly to prevent liquid from entering the thermostat. Pay particular attention to the screen and button areas, carefully removing any dust or grime. Never immerse the thermostat in water or any other liquid. After cleaning, ensure the thermostat is completely dry before restoring power.
Battery Replacement
The Honeywell Home T3R thermostat may require battery replacement depending on the model and usage. Low battery indicators will appear on the display, prompting replacement. Ensure you use the correct battery type as specified in the product specifications – typically AA alkaline batteries. Power off the thermostat before proceeding.
Locate the battery compartment, usually on the side or back of the unit, and carefully remove the old batteries. Insert the new batteries, observing the correct polarity (+ and -) markings. Close the battery compartment securely. Verify the thermostat powers on correctly after replacement. Dispose of used batteries responsibly, following local regulations.

Product Specifications
Detailed specifications for the Honeywell Home T3/T3M/T3R thermostats are provided, covering features, installation guidelines, troubleshooting tips, and OpenTherm IDs.
Technical Specifications of T3/T3M/T3R
The Honeywell T3 series boasts several key technical specifications. These programmable thermostats support various heating systems, including conventional, combi, and OpenTherm boilers. The T3R model uniquely features wireless capabilities for remote control and monitoring. Power is supplied via batteries, ensuring continued operation even during power outages.
Display technology utilizes a clear, backlit LCD screen for easy readability. Temperature control accuracy is within ±0.5°C, providing precise heating management. The thermostats operate within a temperature range of 5°C to 35°C. Connectivity options, specific to the T3R, include wireless communication protocols; Detailed product specification sheets are available for comprehensive information.
Dimensions and Weight
The Honeywell Home T3, T3M, and T3R thermostats are designed with a compact form factor for easy installation in various locations. Precise dimensions are crucial for ensuring a proper fit and aesthetic integration with your home décor. While specific measurements may vary slightly between models, the overall size is relatively consistent across the series.
Typically, the thermostat measures approximately 130mm in height, 88mm in width, and 25mm in depth. The weight of the unit is around 150 grams without batteries. These dimensions and weight contribute to a discreet and unobtrusive presence on your wall, blending seamlessly into any interior design scheme.

Warranty Information
Honeywell Home provides a warranty for the T3R thermostat, covering defects in materials and workmanship. Contact Honeywell support for detailed warranty terms and claim procedures.
Honeywell Home Warranty Details
Honeywell Home offers a limited warranty on the T3R thermostat, safeguarding against manufacturing defects and component failures. This warranty typically covers the product for a specified period from the date of purchase, often one or two years, depending on the region and specific model. The warranty’s scope includes repair or replacement of the defective unit, at Honeywell’s discretion.
However, the warranty does not extend to damage caused by improper installation, misuse, neglect, accidents, or unauthorized modifications. Proof of purchase is essential for warranty claims. To initiate a claim, customers should contact Honeywell Home support, providing details about the issue and proof of purchase. Full warranty terms are available on the Honeywell Home website or within the product documentation.
Contacting Honeywell Support
For assistance with your Honeywell Home T3R thermostat, several support channels are available. Customers can access Honeywell’s comprehensive online support portal, featuring FAQs, troubleshooting guides, and downloadable manuals. Direct contact is possible via phone support, with dedicated lines for specific regions and product inquiries.
Email support offers another avenue for assistance, allowing detailed issue descriptions and documentation to be submitted. The Honeywell Home website provides links to these resources, alongside community forums where users can share experiences and solutions. Ensure you have your thermostat’s model number and serial number readily available when contacting support for efficient assistance.